Modpack Installation
We offer a Mod Pack Manager that assist with installing a significant amount of Modpacks. Data is directly pulled from CurseForge.
To access the Mod Pack Manager, click Tools —> Modpack Manager.
On this page, you'll be able to view and search through thousands of Modpacks to be installed.
Feel free to glance over our list of top picks to choose from.
Installing your own Modpack? Check out Forge - Manual Modpack Installation
Once you've found your preferred Modpack, click on the Install button. Preferably, you would choose Format Server for starting a fresh server.
NOTE: FORMAT SERVER WILL DELETE ALL DATA. TAKE A BACKUP!
After your Modpack has been successfully installed, check your File Management to see if you need to install Forge yourself. If you need to install Forge yourself, please see the Installing Forge section below.
Assistance with Certain Modpack Installations
We’ve collected information about some problems related to specific modpacks that we’ve noticed are popular. You’ll find tips and solutions to those common issues for those modpacks listed below.
Pixelmon
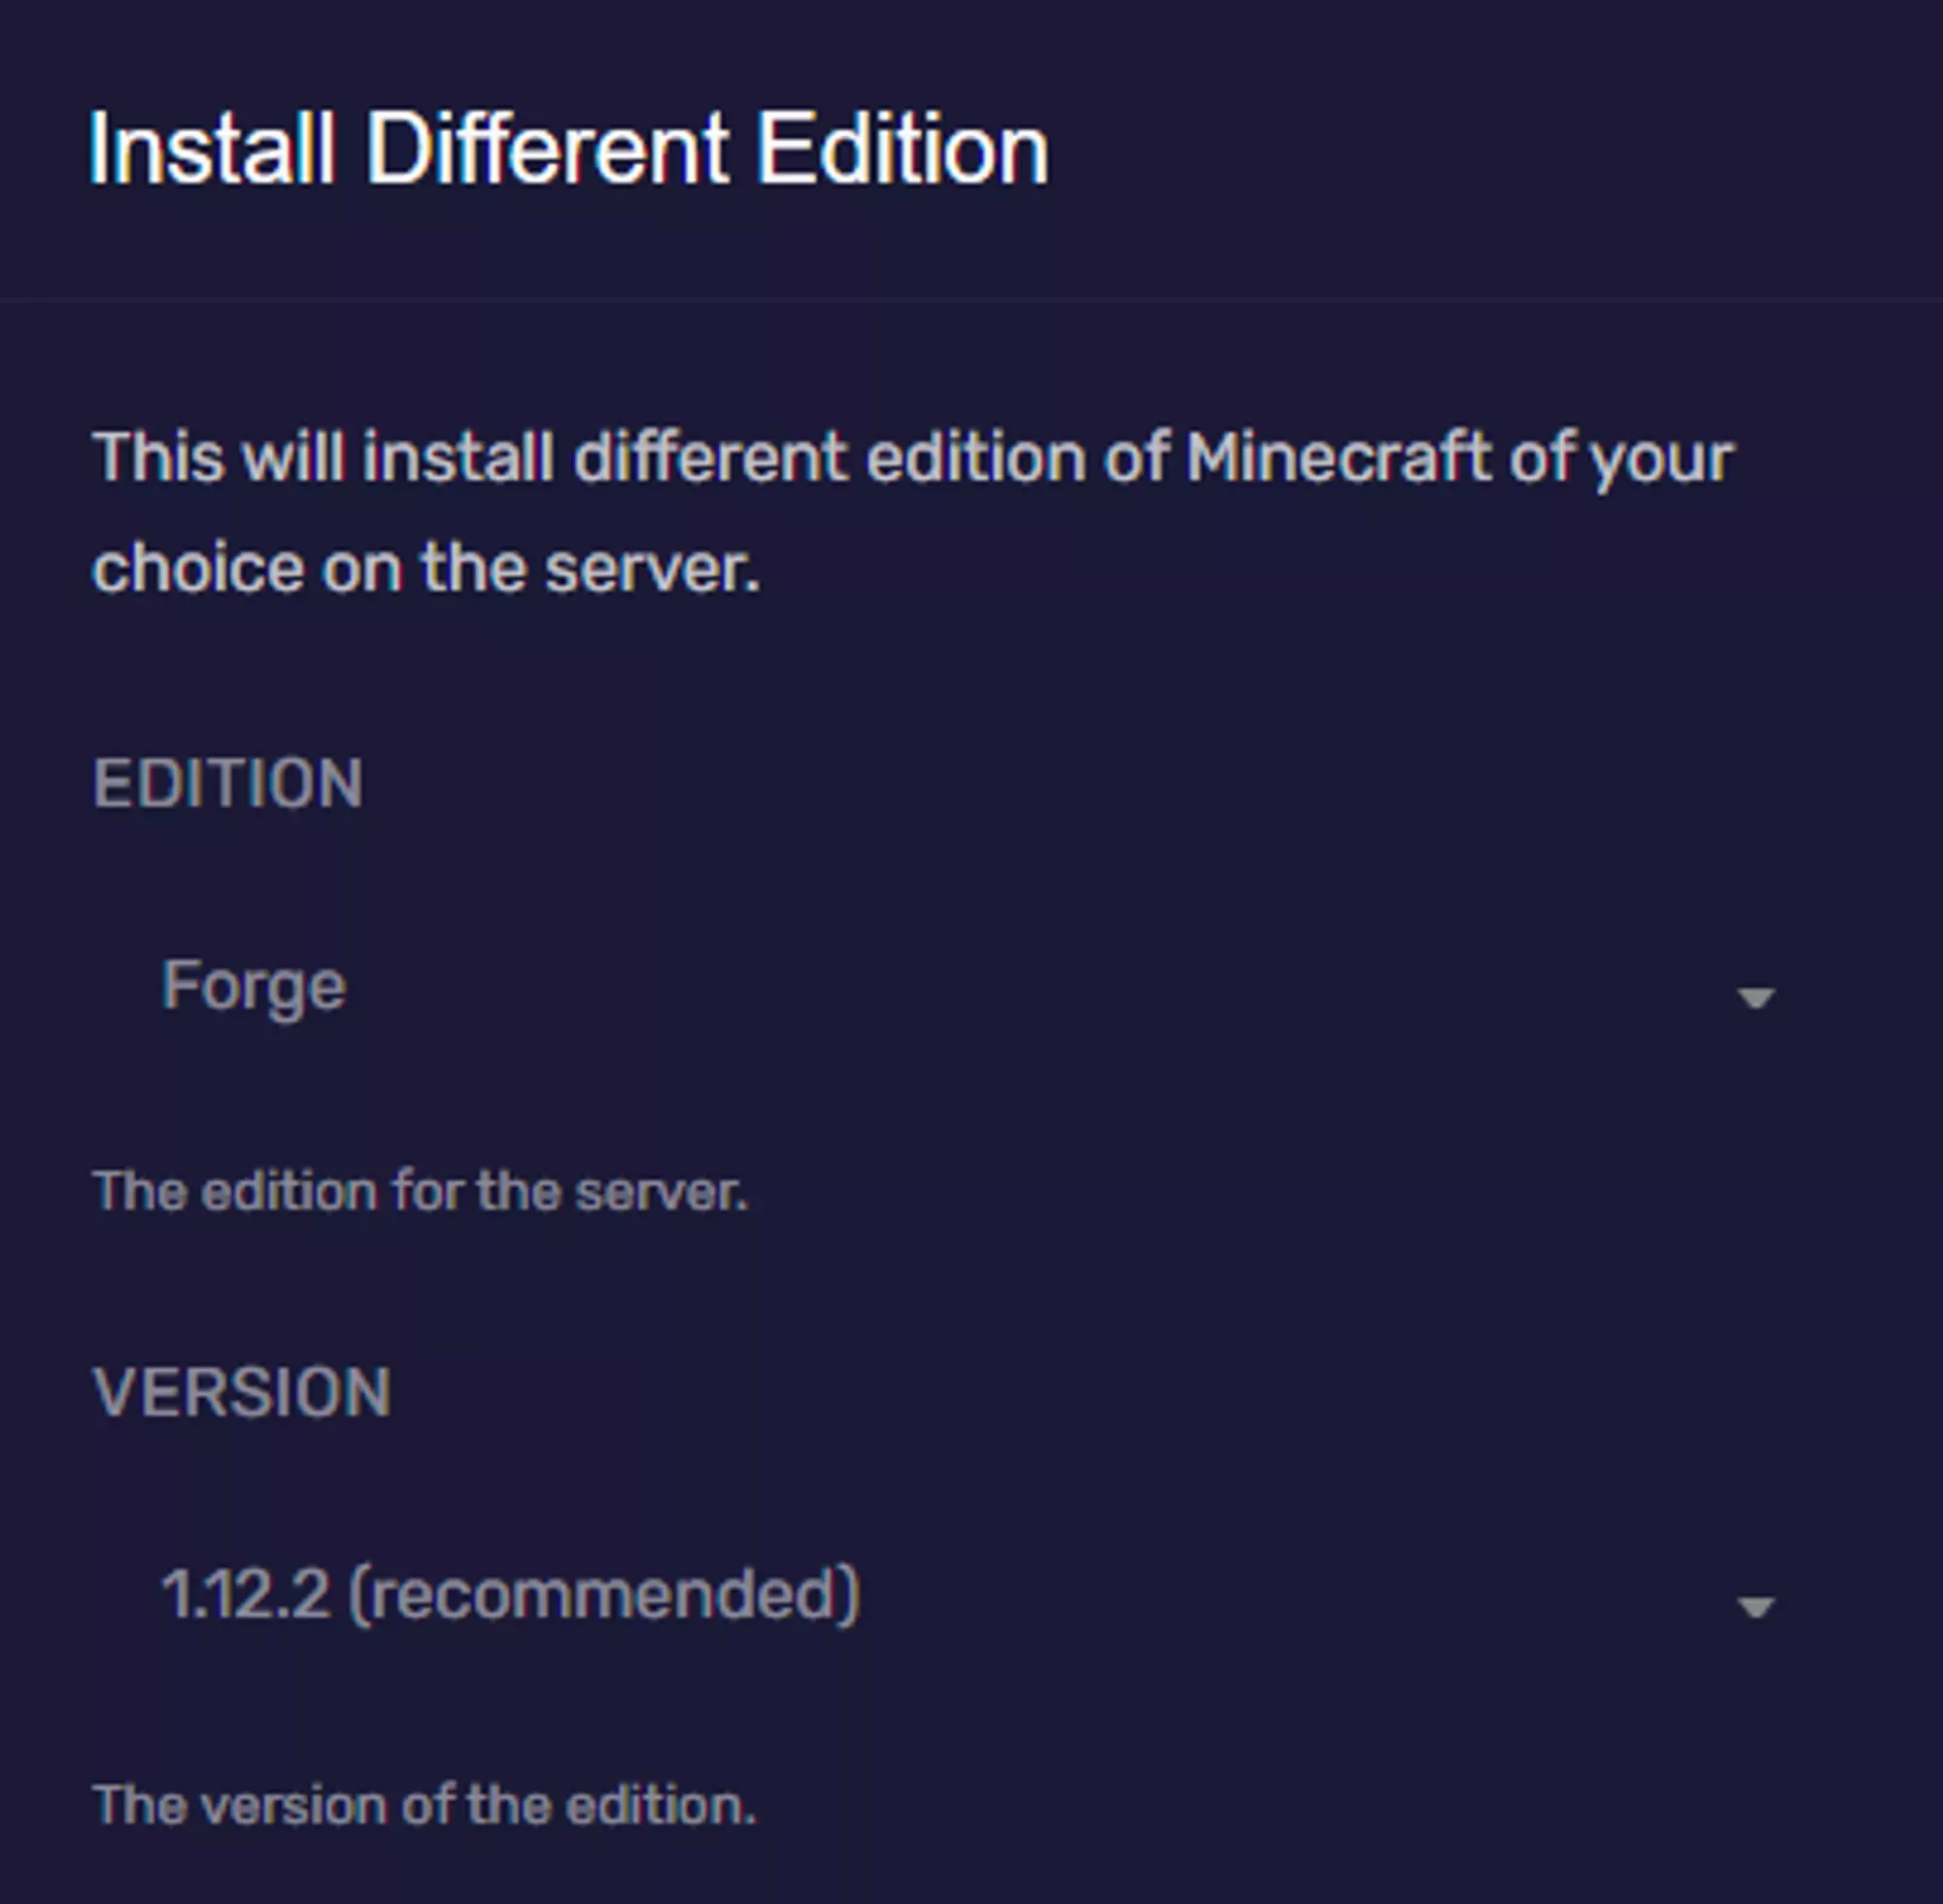
Begin by Installing Forge 1.12.2 - Recommended.
Configuration —> Advanced —> Install Different Edition
 Loading...
Start your server to generate all the necessary files and folders. Once fully generated, stop your server.
Next download the latest Pixelmon Server and upload into the mods/ folder. Then Start your server.
![]() Loading...
Loading...
You have successfully installed Pixelmon! Feel free to continue your configuration & loading of sidemods by reading Pixelmon's Server Installation guide.
Feed the Beast
It appears many of the modpacks provided by the FTB Team do not include the 2 necessary files to start your server. You may need to install Forge yourself.
All of Fabric / All the Mods
These modpacks require you to manually build the files for your server. To begin, open the File Management and download startserver.bat (Windows)/startserver.sh (Linux/Mac) and server-setup-config.yaml. Create a New Folder on your preferred storage location, and move the files into the folder.
We do not recommend running this script inside your root Downloads folder. Files generated are created where the script is executed.
Feel free to exit the Install script after...
The server installed successfully, you should now be able to run the file forge
You can delete this installer file now if you wish
[TIME] [INFO] Done installing forge, deleting installer!
[TIME] [INFO] You have not accepted the eula yet.
[TIME] [INFO] By typing TRUE you are indicating your agreement to the EULA of Mojang.
[TIME] [INFO] Read it at https://account.mojang.com/documents/minecraft_eula before accepting it.
Once you've closed the script, Upload all the files back to your Server Directory.
Finally make sure your Server Parameters are up to date with the Server Launch Jar (example forge-*.jar) then Start your Server.
Valhesia 3
Newer versions of Valhesia may require installing a specific version of Forge. Please view our guide to manually installing Forge on your server.
SkyFactory 4
Download SkyFactory4 from the Mod Pack Manager.
Install Forge 1.12.2 Latest/Recommended, but DO NOT FORMAT. Finally make sure your
Server Parameters are up to date with the
Server Launch Jar
(example forge-*.jar) then Start your Server.
RLCraft
Follow the normal steps of using the Mod Pack Manager & Install Latest/Recommended Forge 1.12 in the Server Software. Remember to NOT Format Server.
Configuration —> Advanced —> Install Different Edition
Vault Hunters
Install the modpack automatically through the Modpack Manager. However, you may need to install one mod manually - Random Patches.
Common Installation Issues
⚠️ Feed The Beast Modpacks are NOT updated in our Modpack Manager
For FTB, you can also pull the Modpack straight from their website using Modpack.sh. FTB no longer updates on CurseForge. Modpacks.sh should also provide you with the Forge files needed.
[Name] not updated in Mod Pack Manager
We pull our Modpacks straight from CurseForge's website. This relies on the Modpack Developer updating and providing a server pack.
Error: Unable to access jarfile [server].jar
Your server may not have included a copy of the necessary Forge server Version, or you're using a different server jar under a different name. You can either rename your preferred server jar to **server.jar,**or update the Startup Parameters under Configuration —> Startup Parameters
 Loading...
Unable to Join Server, using Same Working IP Address
Try checking your server.properties and confirm the following line matches. server-port=<Game Server Port>. If you've updated this value, make sure to restart your server.
Server Starts with Vanilla rather than Forge
Visit your Startup Parameters and confirm you've not set the Server Jar file to minecraft_server.*.jar, this is the Minecraft Vanilla Jar. You should be looking for Forge-*.jar or server.jar.
A problem occurred running the Server launcher.java.lang.reflect.InvocationTargetException or at java.base/jdk.internal.reflect.NativeMethodAccessorImpl.invoke0(Native Method)
This occurs when you've selected Java 11 and your server software only supports Java 8. To change the Java Version your server is running on, follow the steps outlined in our article on Java Version Selection
Need to run start-server.bat, start.bat, serverstarter-2.0.1.jar, *.sh, *.bat
If you're attempting to install a Modpack and are only provided a script. You won't be able to run them on our service. You'll need to manually run them on your computer.
If you're trying to start your server with serverstarter-*.jar. We recommend starting the server instead with the direct forge file, forge-*.jar or server.jar but not minecraft_server.<version>.jar
Exception in thread "main" java.lang.IllegalAccessError: class cpw.mods.modlauncher.SecureJarHandler (in unnamed module @0x4434095f) cannot access class sun.security.util.ManifestEntryVerifier (in module java.base) because module java.base does not export sun.security.util to unnamed module @0x4434095f
Internal Exception: io.netty.handler.codec.OecoderException: Java.lang.IllegalfirgumentException: Payload may not be
larger than X bytes
This error will appear when one of the packets sent by the server exceeds the vanilla limit on packet sizes. This can be caused by mods adding too much data to certain parts of the game, like adding too many attributes to a block/entity or too many recipes that have to be synced on login. You can mitigated this by modifying the game on both the server and client to increase the vanilla value.
It may also be caused by a corrupted world, where a block or entity erroneously received too much data. In which case increasing the packet size won’t fix the issue. You can easily test which by renaming the world file to generate a fresh world. If the error persists then you’ll want to use a mod to expand the packet size. If this fixes the error, you’ll need to either revert to a recent backup or modify your world to removing the error.
If you’re using Forge/Fabric 1.16-1.19.4 then you can use Random Patches to increase your packet size as well as fix a few other connectivity issues!
If you’re using (Neo)Forge/Fabric 1.15-1.21+ then you can use Packet Fixer to increase your packet size as well as fix a few other connectivity issues!
Connection Timeouts - RandomPatches Mod
When playing on larger modpacks, with an underpowered client, or an unstable connection, your players can take some time to have all of the server data synced to their client. This is generally expected and normal. But if the connection takes too long then the server will kick the client, assuming that the connection failed. There are mods that can increase the connection time to a more reasonable amount for the pack you’re running, and while most modpacks will have a mod like the one we’re going to discuss already installed, you might need to install it yourself.
We’re going to walk through installing and configuring the RandomPatches mod, specifically to fix connection timeout issues. The mod as a whole includes a ton of bug fixes for bugs or inconsistencies the game and you can find a list of them all here, but we’re only concerned with the section on Connection Timeouts for today.
RandomPatches only supports 1.12.2 (for older versions of the mod) and 1.16.1-5 (for the latest version). The same versions are supported on both the Forge and Fabric versions.
Installing
RandomPatches can be installed on either Forge or Fabric just like any other mod on the Server. While it provides patches for both the server and client, it’s not required to have on the client when it’s installed on the server, so you can install it on your server without forcing your players to install it too. All you need to do is upload the mod file to your servers mod folder Using the File Manager or Using SFTP and then restart your server.
Configuring
After you’ve uploaded the mod file, you can make sure that the Connection Timeout section is enabled and configured by checking the configuration file for the mod. This will be located in the same section as every other mod configuration file for the modloader that you're using. IE for Forge you’ll find the configuration file under config/randompatches.toml. There’s also a section about how the configuration is handled on the RandomPatches wiki that explains a bit about it.
After locating the configuration section that controls the Connection Timeout feature, you’ll want to change it to a value that allows your players to log in without issue. The only downside to setting it to a high value is that it delays the time it takes for actually failed log-ins to be caught. The upside to a higher value is that players with an underpowered PC or an unstable connection will be more likely to make it into the server.
We generally recommend starting with a value of 900 seconds for all 3 values. For simplicities sake, 900 seconds would be 18000 ticks and is the value you’d want to input into the login timeout field.