Securing Access
Logging In
You can access your server on WinterNode using the Game Control Panel.
- Watch your email for the server confirmation. (Check you spam folder)
- Click the link in the email to create your password
- Open the GCP and enter the username from the email and the password you just created.
You can also use your Client Area account to login into Game Control Panel by providing Client Area account credentials and pressing Sign In with SSO.
If you're being asked for a 2FA code, this is because your account has 2FA (Two-factor authentication) enabled, this requires a second step where you need to import the 6-digit code given by the Authentication app you set up on your account.
If you lost the app or don't have the code, you can insert the backup 2FA code, otherwise, open a Client Area Ticket to try to resolve your problem.
Game Panel 2-FA
It’s highly recommended to use 2FA as a security measure. It is the most secure way to prevent your accounts, and by extension your servers, from getting hacked.
What is 2FA?
2-Factor Authentication is an extra step added to logging into an account that helps prevent unauthorized access. When you log into your account you’ll be prompted to provide a token provided by an Authenticator application that’s cryptographically generated from a private code only shared between WinterNode and the Authenticator application. As long as you don’t share those tokens or that code and a third party doesn’t have physical access to the device that you’re using for your Authenticator application. This is a nearly foolproof method of authenticating. For redundancy sakes, you can even save the original token in a password manager or other safe location, in case you lose your device or have multiple devices set up with an Authenticator application ready to go.
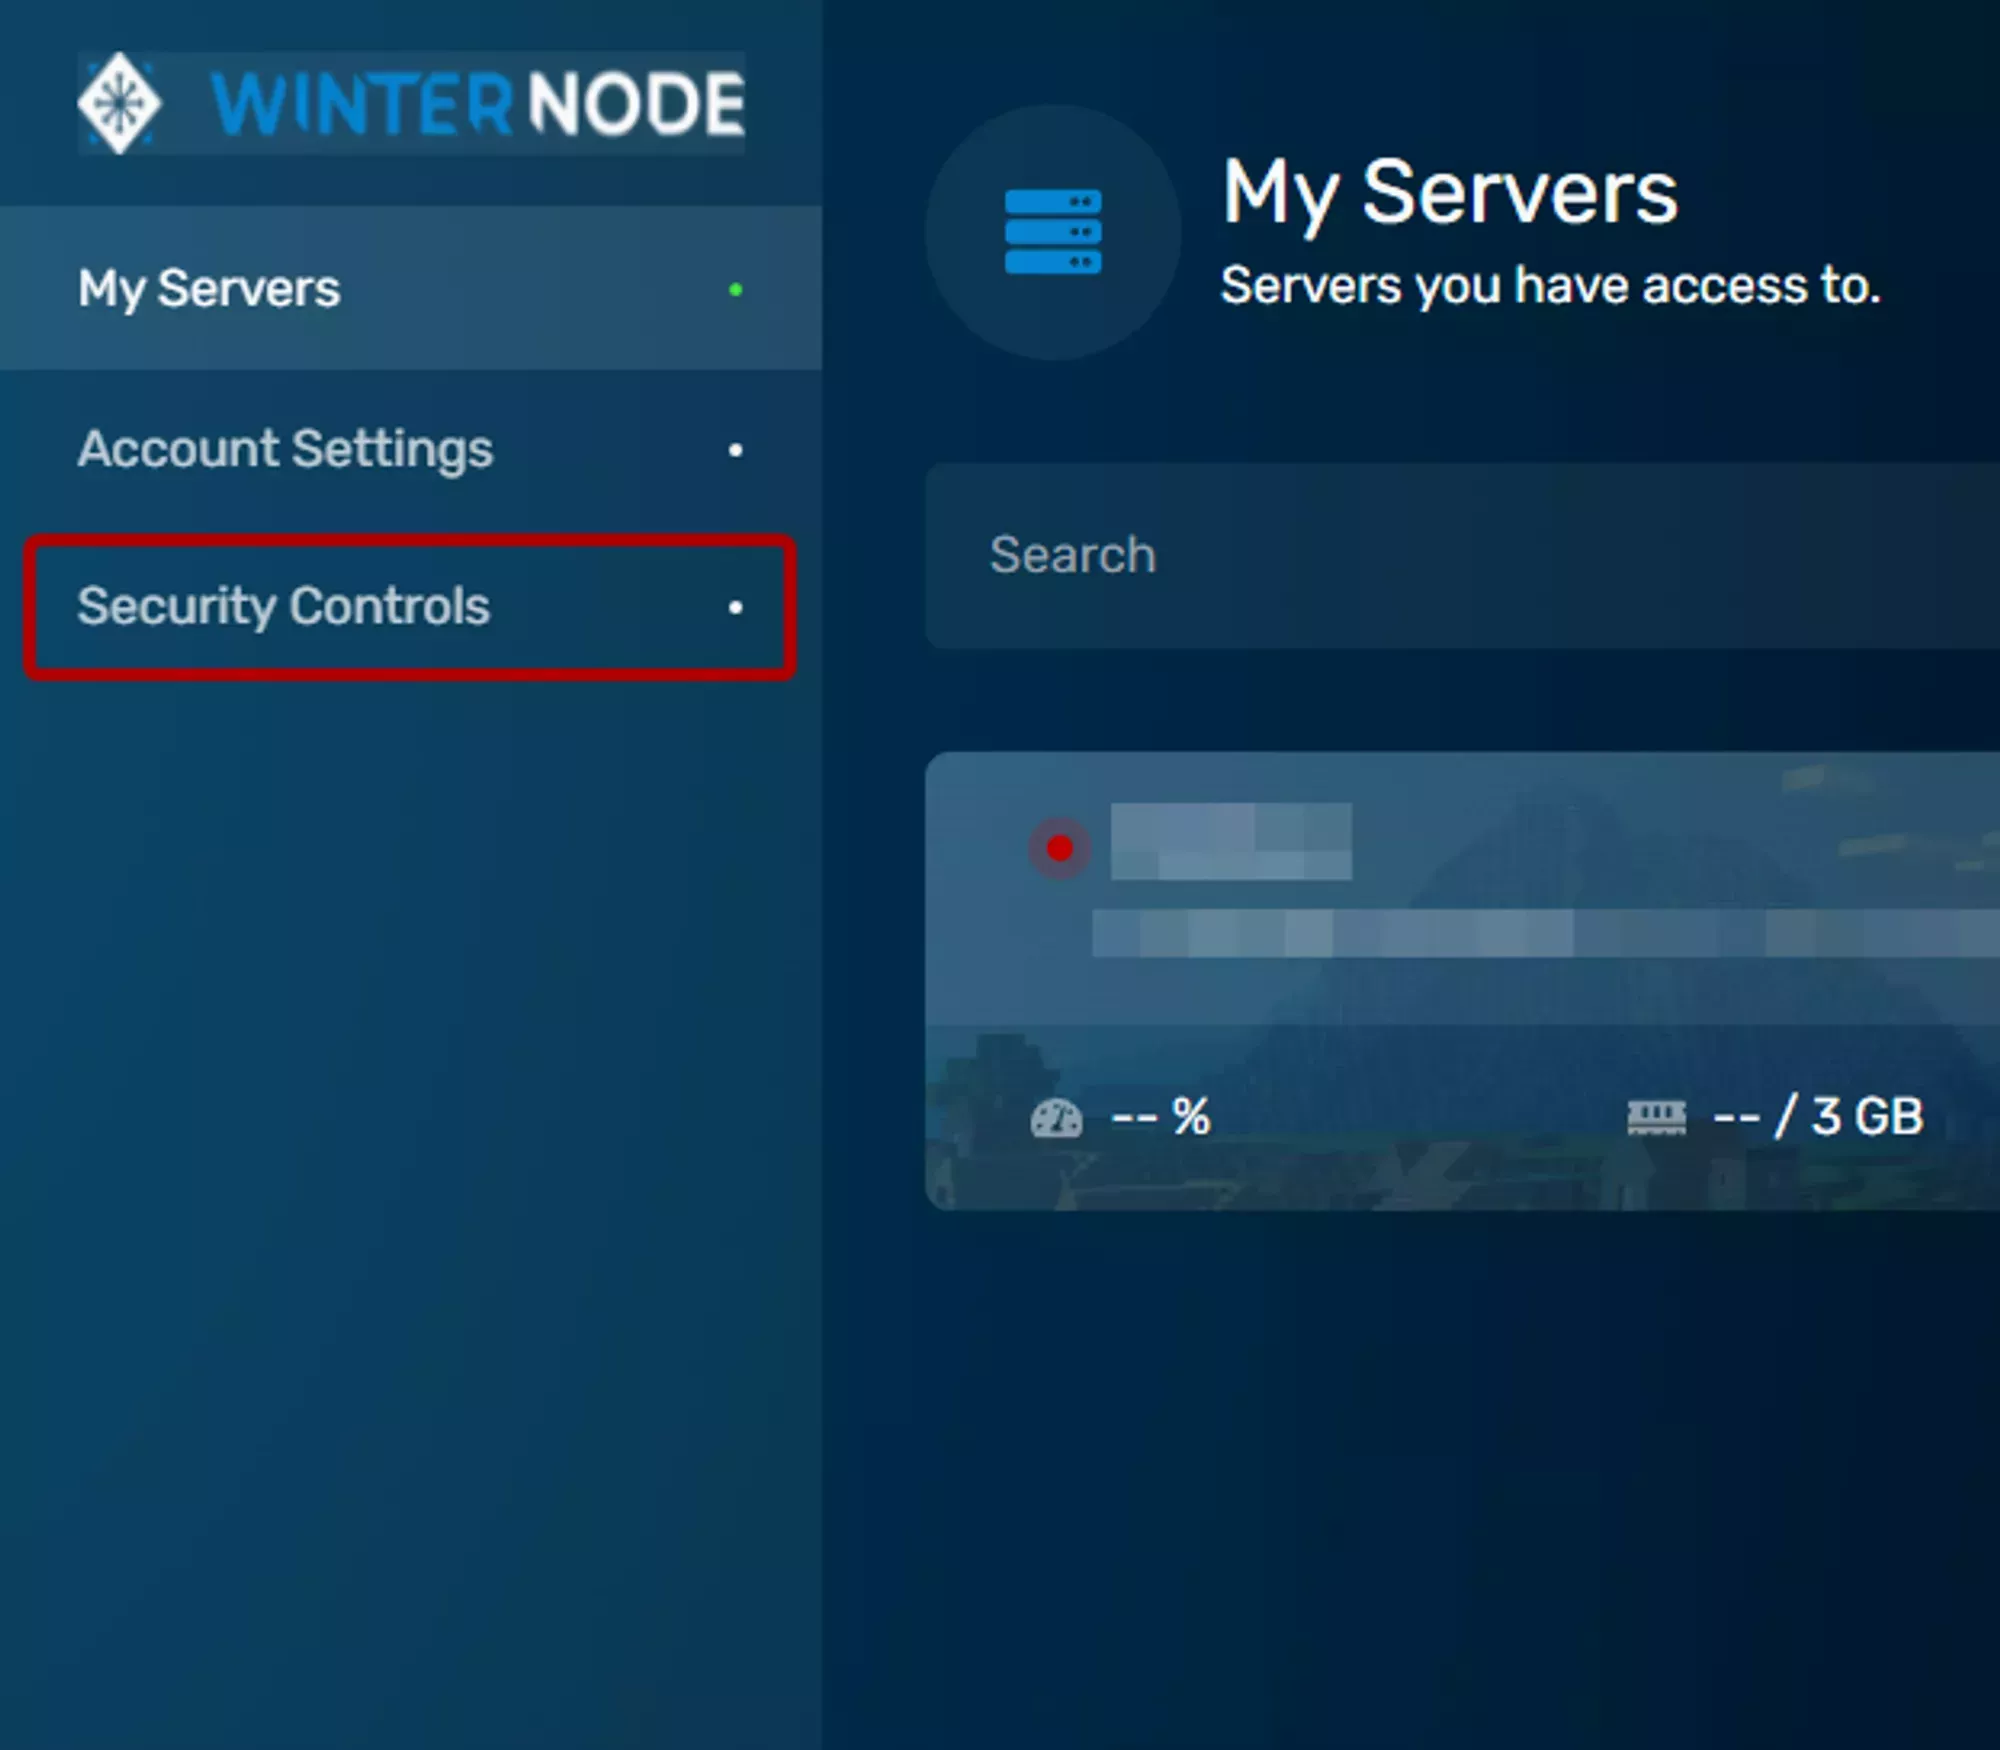
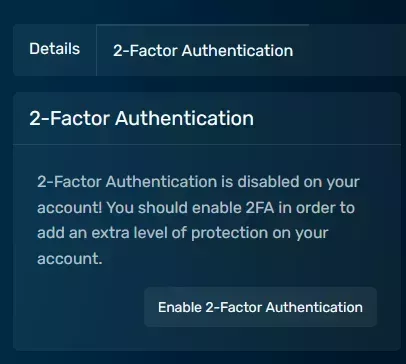
You can find the 2FA setting under the security controls tab on your home page in the Game Panel. Once there you’ll find a box labeled 2-Factor Authentication with a button inside labeled Enable 2-Factor Authentication. Click that button to get your Authentication code and QR code.
Log into the GCP and click the "Account Settings" button on the right navbar.
 Loading...
Click the "2-Factor Authentication" tab and click "Enable 2-Factor Authentication".
 Loading...
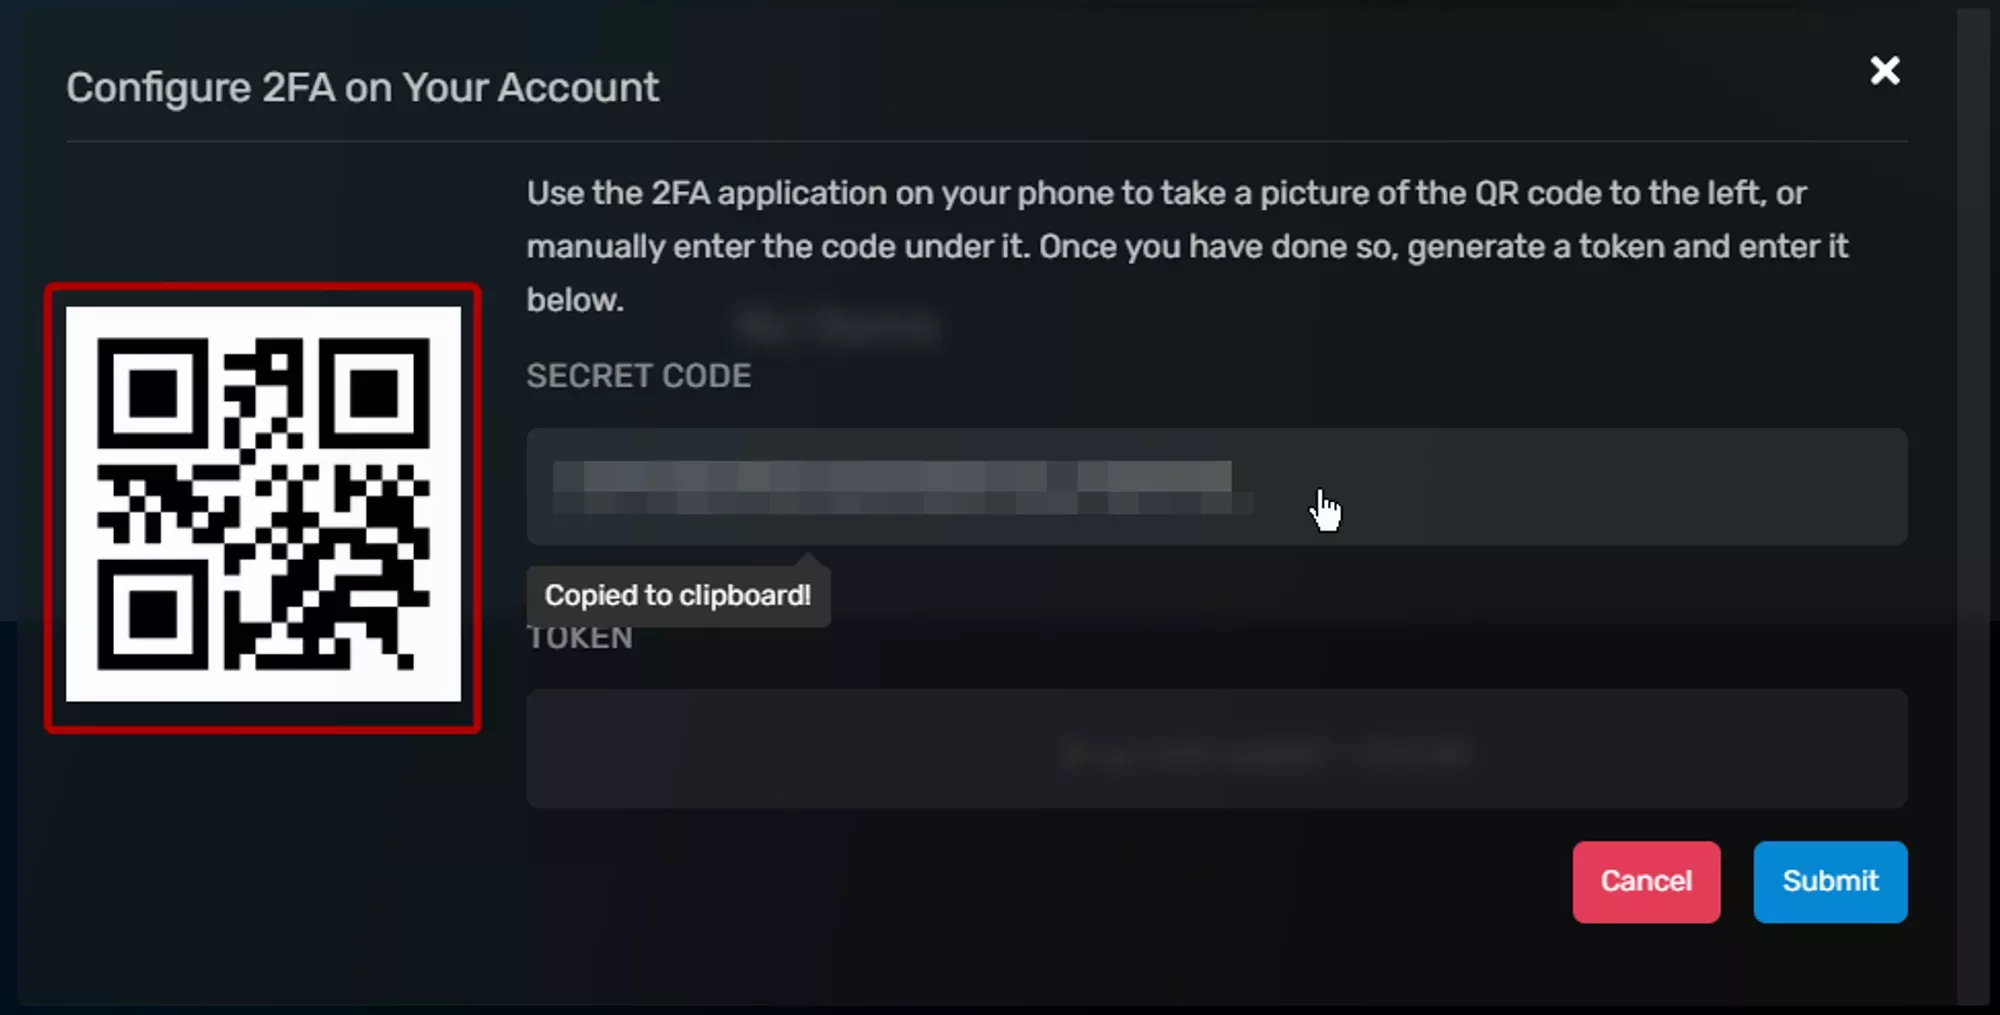
Scan the QR code or enter the code into your Authenticator app.
You can scan the QR code using an app like Google Authenticator or Authy or you can enter the code manually into either of the two apps. You can also click the alphanumeric code to copy it into your clipboard.
cautionMake sure to save the alphanumeric code or QR code somewhere in a secure format. Good ways are in a private password manager or encrypted flash drive!
 Loading...
- Enter the numbers that your app provides into the "Token" field.
There are a lot of Authenticator apps with many different features, so you might want to try a few out or look at what’s provided by your phone already. If you save the code above then you’ll have no problem switching Authenticator apps!
Getting an API Key
What is an API Key?
An API Key can be used to interact with the Game Panel API and automate most of the tasks you're able to do manually using the Game Control Panel (GCP). Every request you send to the API will need to be authorized using an API key, most often the same API Key for one project.
Log into the
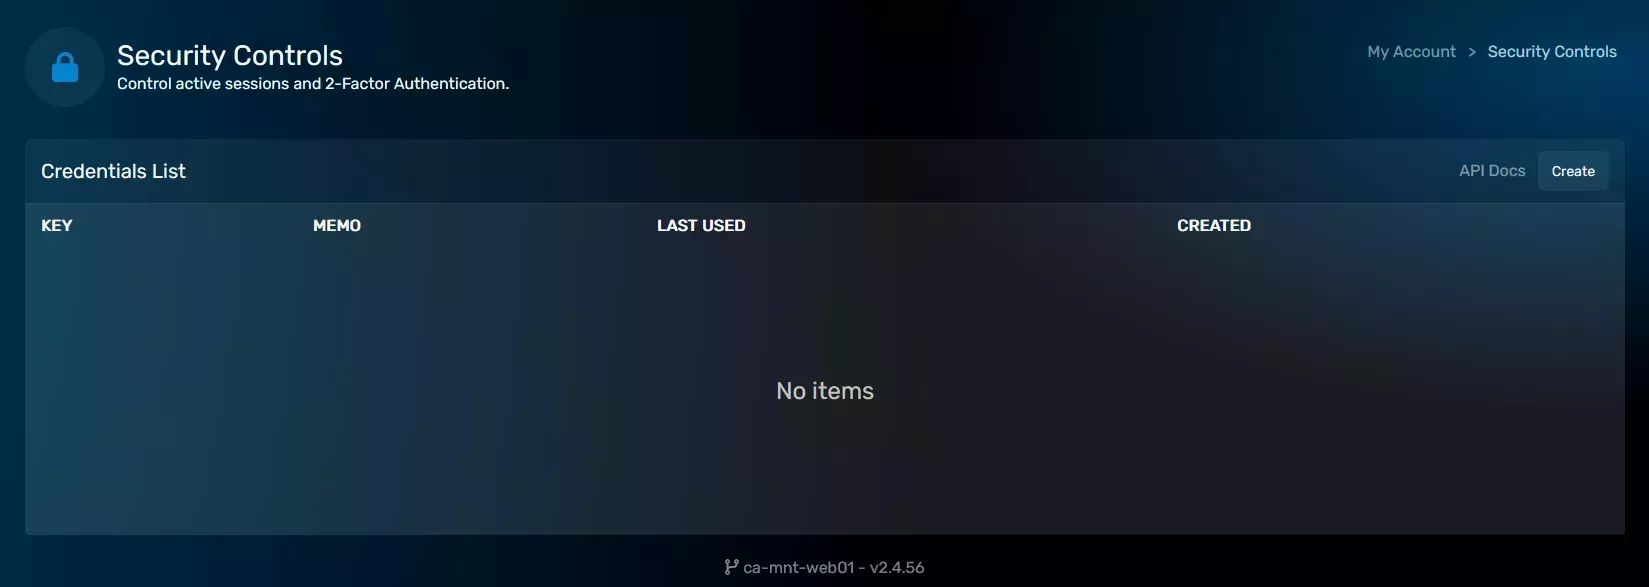
GCP and open the "Security Controls" tab on the bottom left.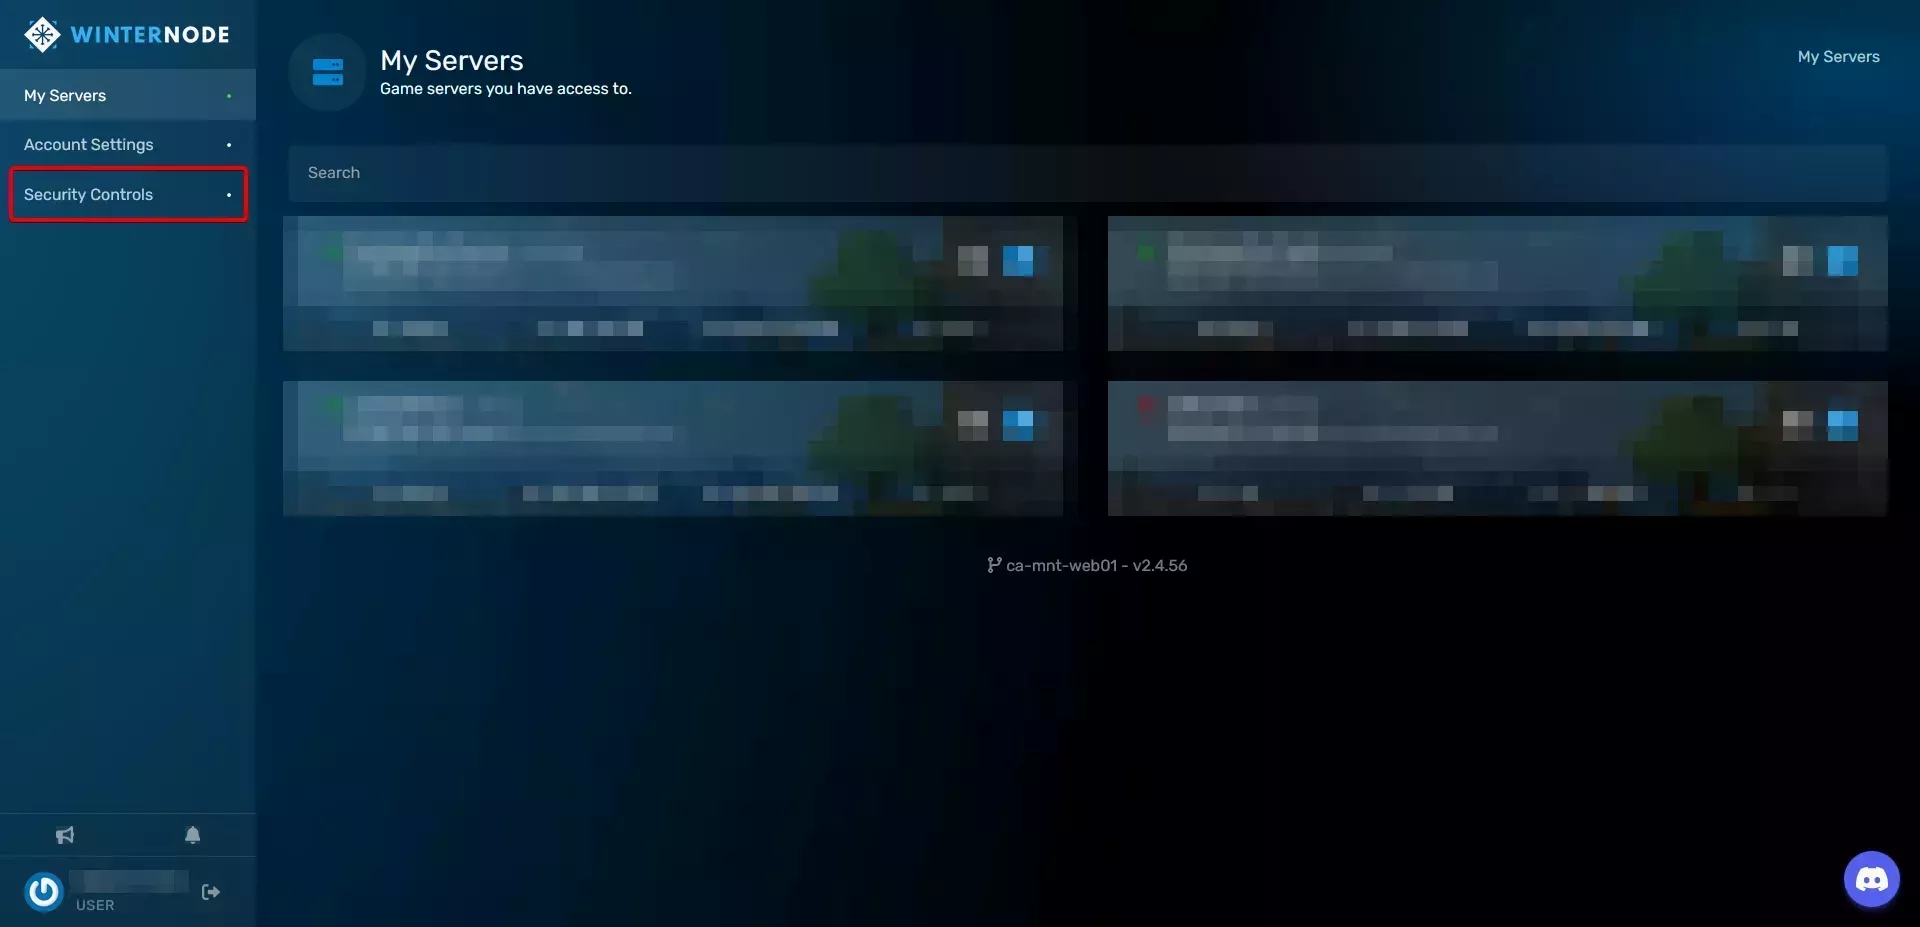 Loading...
Click the "Create" button on the top right of the list.
 Loading...
Fill out the "memo" field with a name or reason for the API key
 Loading...
Optionally limit the IPs the API key can be used from by entering each IP into the "Allowed Connection IPs" separated by a comma.
Loading...Copy the key by clicking on the "KEY" item in the list to reveal and the copy
 Loading...
You can delete an API key by clicking on the "delete" button on the right side of the entry.